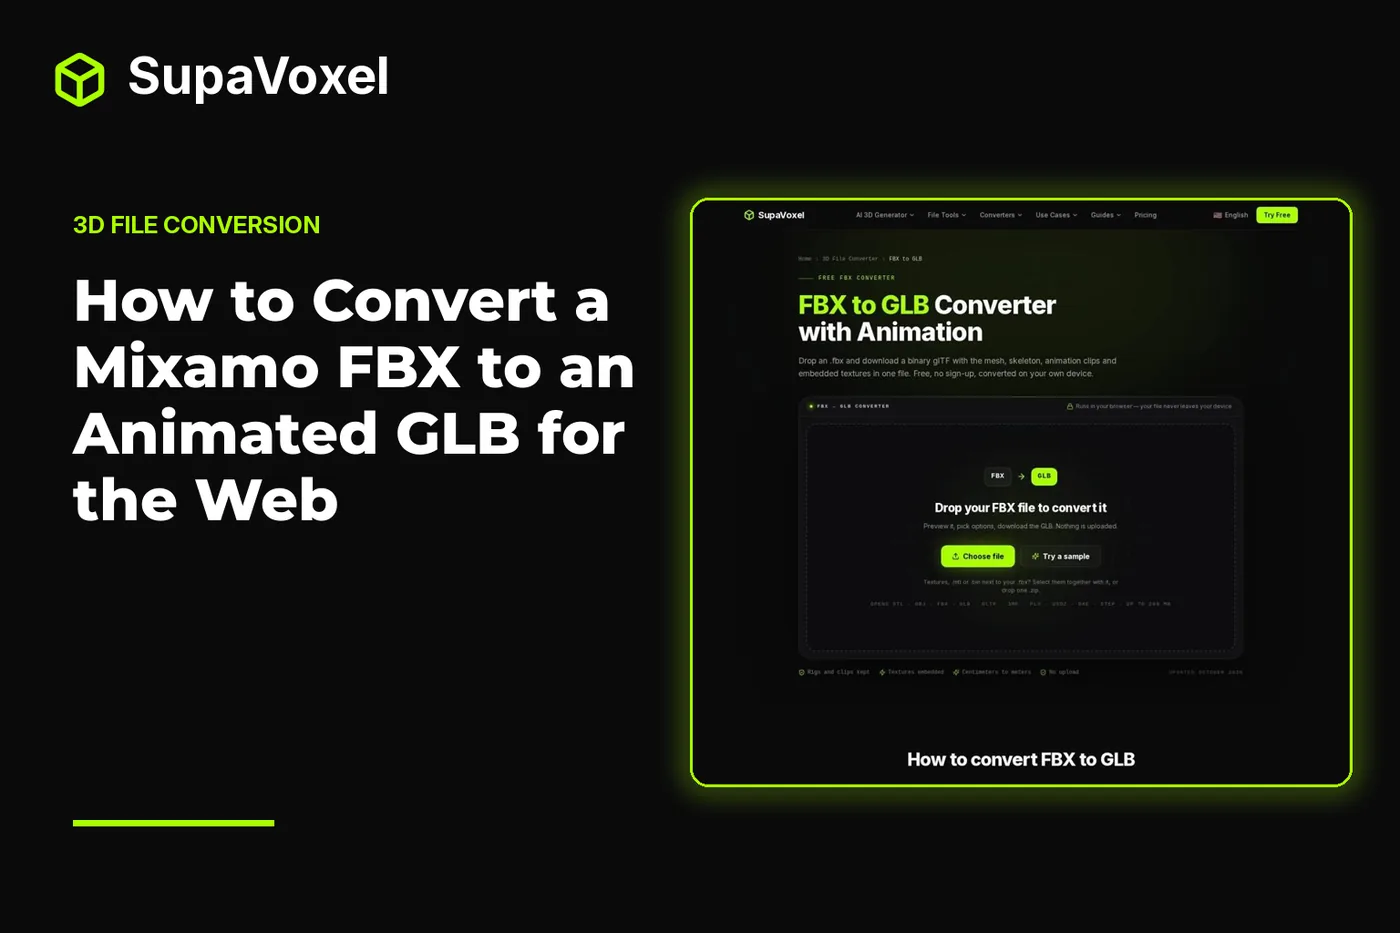
This guide shows how to turn a Mixamo FBX into an animated GLB, then check the result in a glb viewer so it is ready for web delivery.
Mixamo gives you a rigged FBX, but a web page is easier to build around a GLB that carries the mesh, skeleton, textures and motion together. I’ll show you how to check the source clip, convert it at the right scale, verify the result and prepare it for delivery.
The short version
- Download your Mixamo character as an FBX With Skin so the mesh and rig travel together.
- Use SupaVoxel’s FBX to GLB converter to check the animation clip count before converting.
- Expect a centimeter-based FBX character to become meter-scaled in the GLB: a character at 180 cm becomes 1.8 m.
- Play the exported clip in a GLB viewer, then compress the file before putting it on a web page.
Choose a format that can carry motion
An animated character needs more than a surface. Its skeleton provides the moving joints, skin weights tell the mesh how to follow those joints, and animation clips supply the motion over time. GLB can store all of that in a single binary glTF file, along with textures. That makes it a practical handoff for a browser viewer or a scene built with three.js.
OBJ is useful for a still mesh, but it has no bones or animation. Exporting a Mixamo character to OBJ would leave you with a pose, not a walk cycle. If you’re deciding which file to keep for an engine, an editor or a slicer, SupaVoxel’s FBX vs OBJ guide lays out what each format carries. For this web project, keep the FBX as your editable source and make a GLB for delivery.
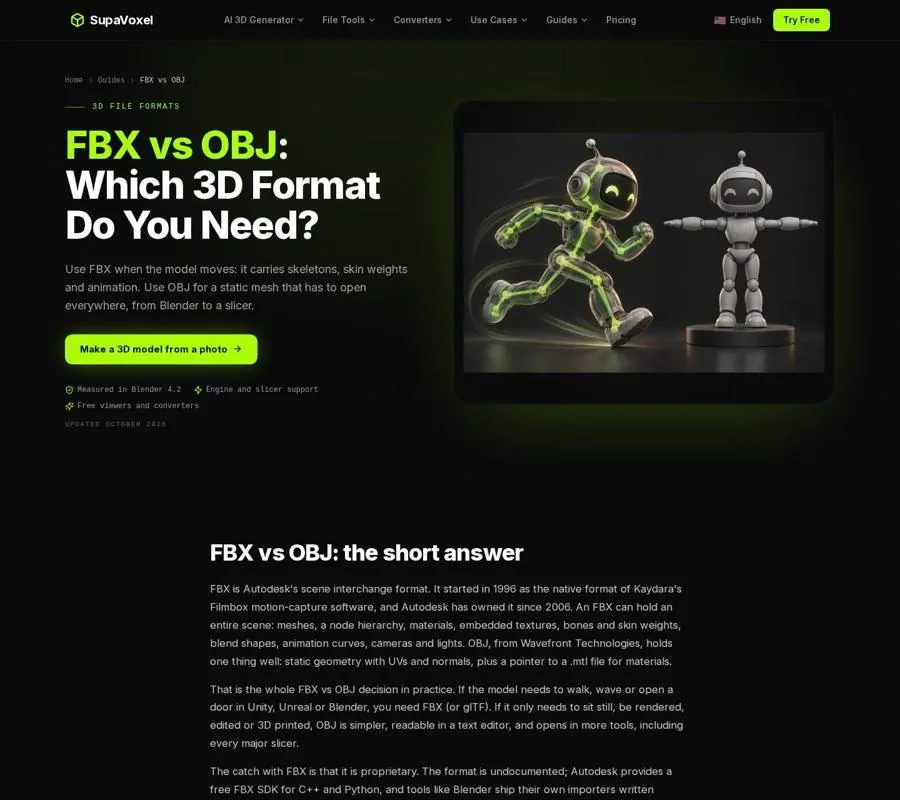
The format comparison distinguishes a rigged, animated FBX from a static OBJ.
Prepare the Mixamo download
A clean conversion starts with the file you ask Mixamo to export. I use these checks before opening the converter:
- Download the character With Skin. That gives you the visible mesh and its bound skeleton together. For additional motions on the same character, Mixamo’s Without Skin downloads avoid sending another copy of the character mesh.
- Choose In Place for controller-driven movement. For a walk or run that your game controller will move through the scene, this setting keeps the motion suitable for that job.
- Know which clips are in the FBX. The converter exports the animation takes it finds in the source file. If you want several motions in one GLB, combine them into one FBX in Blender first; separate Mixamo downloads do not become one file merely because you convert them.
- Keep the original FBX. The GLB is your web-ready copy, not a reason to discard the source you may need to edit or export again.
If you’re still working from an unrigged character, SupaVoxel’s Mixamo animation guide covers the earlier task: preparing a humanoid, getting it into Mixamo and downloading the resulting motion. Finish that rigging step before following this conversion workflow.
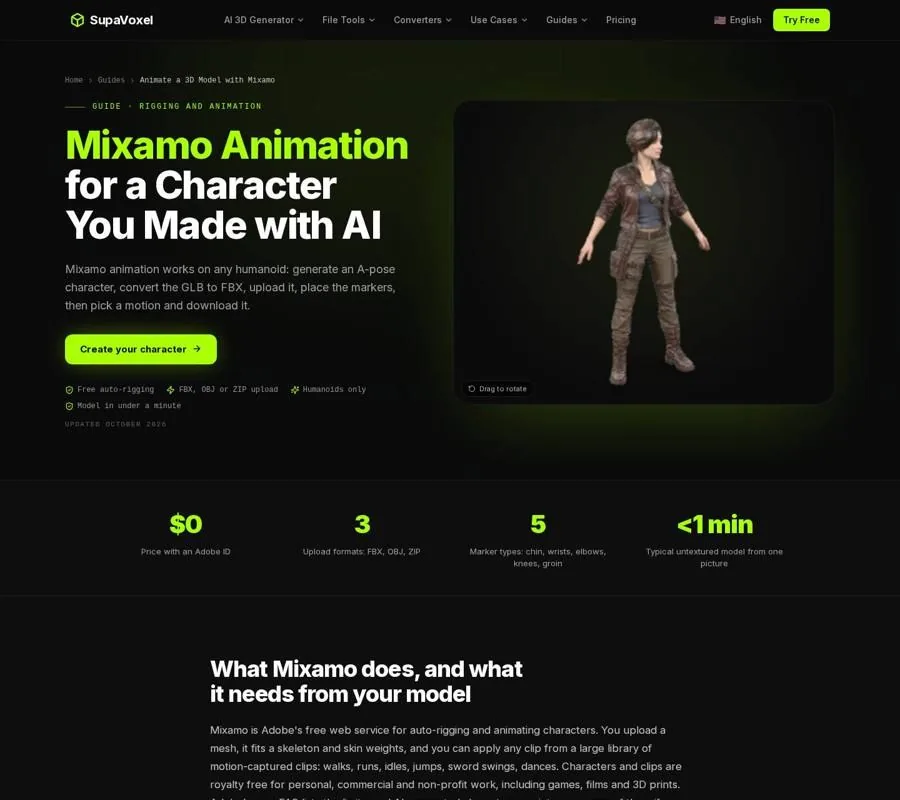
The Mixamo guide covers the character-preparation and rigging stage before FBX export.
Convert the FBX and check the clip count
The browser converter accepts binary or ASCII FBX files from FBX 7.0 onward, up to 200 MB. It runs on your device without an upload or sign-up. I still treat its preview as a preflight check rather than assuming that a file with “animation” in its name contains the motion I expect.
- Drop in the FBX. Inspect the model preview and the panel’s mesh and material counts. Open What carries over and check how many animation clips it found. If the clip count is not what you intended, return to the FBX before exporting a GLB.
- Set the texture choice. Keep textures is on by default and packs the available images into the GLB. Leave it on for a character whose appearance matters on the page. Turn it off only if flat material colors are sufficient for a scene blockout.
- Check the file units. The converter changes FBX centimeter measurements to glTF meters. A 180 cm character should therefore arrive at 1.8 m. If your source was authored in another unit, set File units appropriately before conversion rather than compensating with a scale guess in your web scene.
- Press Convert to GLB and download the result. The export keeps the mesh hierarchy, node names, bound skeleton, skin weights and animation takes. Each take becomes a named glTF clip.
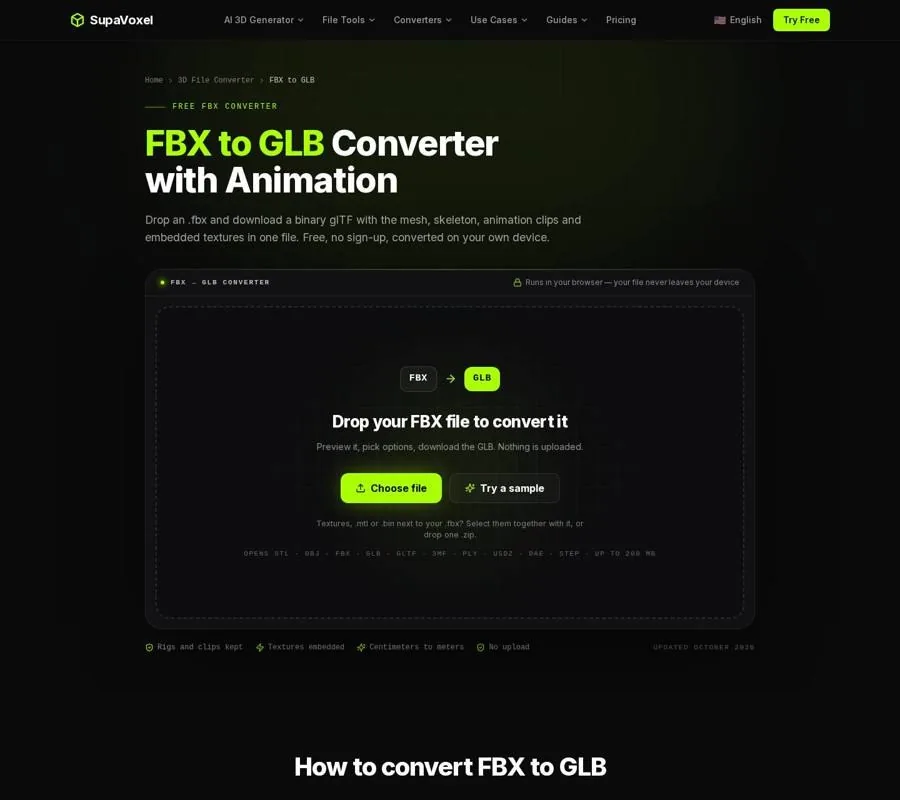
The converter preview and carry-over panel let you inspect the FBX before exporting its GLB.
That clip-count check is the important pause in the workflow. A successful download tells you that a file was written; the count tells you what motion the converter actually found to write. If you prepared a combined FBX in Blender, compare the listed clips with the motions you meant to ship.
Verify motion and scale in the GLB
Open the downloaded file in a GLB viewer before adding it to your project. Rotate around the character, start the animation and watch both the body and its position in the scene. A rig can be present while a particular motion still looks wrong for your use: a walk intended to play in place, for example, is awkward if it travels away from your game controller.
Check the character’s size as deliberately as its motion. glTF uses meters, so positions in a web scene must make sense alongside the converted model. If the scale is wrong, revisit the source units and conversion setting. Changing a scene-wide scale to hide a unit mistake can make later placement harder to reason about.
Look at the surfaces too, but keep this pass focused on delivery. FBX materials and glTF materials use different models, so a converted surface may need an adjustment in a glTF-aware editor or your engine. That visual check is separate from confirming that the skeleton and clip play.
Compress before putting it on a page
A GLB’s single-file convenience does not guarantee a small download. Embedded images travel with the geometry and animation, and a heavily textured character can be unnecessarily large for a phone. Once you have a GLB that plays correctly, make a compressed copy with a GLB compressor for web delivery.
I keep the verified export as a reference and test the compressed copy independently. Open it again, play the clip, inspect the textures and confirm that the character still appears at the expected size. Compression is a delivery step, not a substitute for checking the FBX or fixing the conversion.
If this is only a rough scene layout, you can make a smaller geometry-and-flat-color GLB by switching Keep textures off during conversion. For the finished character, decide based on what the page needs to show, then compress and test that version.
Play the result in your web scene
With the file checked, load the GLB in your web project. In three.js, GLTFLoader loads the asset and AnimationMixer plays its clip. Use the clip names in the exported file to select the motion you intend, especially if you combined several takes into the source FBX.
Place the character using meter-scale scene coordinates rather than the centimeter values you may remember from the FBX. Then test it in the actual page, not just in an isolated viewer: check that the camera frames the character, the motion starts when intended and the page loads the compressed file you verified.
This leaves you with a straightforward division of work. Mixamo supplies the rig and motion; the FBX remains your source; the GLB carries the animated character to the browser.
FAQ
Does the GLB keep my Mixamo animation?
Yes, if the FBX contains an animation take. The converter keeps the skeleton and skin weights and writes each detected take as a glTF clip. Check What carries over before converting, then play the downloaded GLB to confirm it.
Why is my character a different numerical height after conversion?
FBX files commonly use centimeters, while glTF uses meters. The converter accounts for that change: 180 cm becomes 1.8 m. If your FBX was made in different units, check File units before exporting.
Should I export OBJ instead for a web character?
Not if the character needs its Mixamo motion. OBJ holds static geometry but not the skeleton, skin weights or animation clips. Use GLB for this animated web handoff and keep the FBX as your source.