If you use a glb viewer to check delivered models, this guide explains how to convert an OBJ with its MTL and textures into one GLB, set units, and verify appearance and scale before delivery.
An OBJ can look complete in a modeling app while its materials and textures still live in separate files. I’ll show you how to gather those files, choose the source units, and export a single GLB whose appearance and size you can check before delivery.
The short version
- Give the OBJ to GLB converter the
.obj, its.mtl, and its texture images together, or provide them in a.zip. - Set File units to the units used when the OBJ was made. OBJ does not record units; GLB uses meters.
- Check Also read for the side files and Output size for the expected dimensions before converting.
- Open the downloaded GLB in its intended destination and check both appearance and scale.
Why an OBJ needs its side files
An OBJ is primarily a description of shape. It can store geometry, texture coordinates, normals, groups, and sometimes vertex colors, but its material definitions usually sit in a companion .mtl file. That file, in turn, points to image files used as textures.
This arrangement is easy to overlook because a modeling app may already know where the images are. Send only the .obj to someone else and the same model can appear gray. Converting only that file to GLB does not recover images that were never supplied.
GLB is useful for delivery because it packages geometry, materials, and supplied textures into one binary file. The conversion can carry an MTL’s Kd colors and map_Kd images into the GLB’s base color. It can also carry a normal texture when the MTL identifies one as norm, or when a map_Bump filename identifies it as a normal map. A plain grayscale height map does not carry over, and older OBJ material settings do not necessarily look identical as GLB materials.
I treat the source OBJ and its side files as a set. The GLB is the delivery copy, not a reason to discard that source set.
Step 1: Gather the OBJ, MTL, and images
Start with the OBJ and look for the material library named on its mtllib line. If there is an .mtl, find the images it references as well. The converter reads PNG, JPG, and TGA images. Select all the relevant files together, drag them in at once, or put them in a single .zip.
Do not drag a folder onto the converter; select the files inside it or zip them. You do not need to rebuild an exporting app’s original folder path, though. The converter matches side files by filename, so a material reference containing an old computer path or a textures/ subfolder can still find the image you supplied.
After loading, read Also read rather than assuming every selected file was used. If something is absent, an amber note identifies missing files. The OBJ can still convert without them, but missing materials or images can leave you with a gray model. It is easier to fix that now than to investigate the finished GLB later.
Step 2: Inspect an uncertain source
If I did not make the OBJ, I check the source before converting it. SupaVoxel’s OBJ viewer lets you open the OBJ with its MTL and images to inspect the surface, switch to wireframe, and read its mesh count and dimensions.
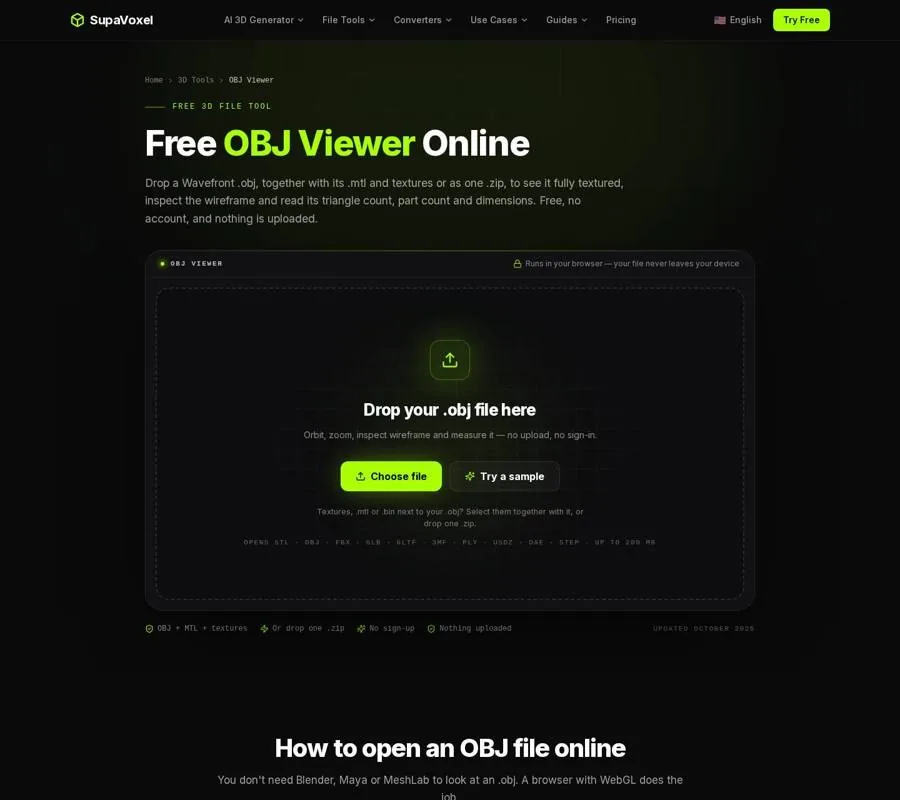
The OBJ viewer shows the source model alongside controls for inspecting its appearance, topology, and size.
This check answers different questions. Does the color appear when the side files are included? Does wireframe reveal a dense scan rather than the lighter asset you expected? Are separate parts present? An OBJ’s o objects and g groups become separate meshes in the viewer and remain separate meshes after GLB conversion. That is useful if the destination needs to address parts individually, but a source with many tiny groups may be worth tidying in a modeling app first.
Treat the viewer’s dimension display as a clue, not proof of the source unit. OBJ has no unit field, and the viewer assumes meters. A printable made in millimeters can therefore display an implausibly large size while its geometry is otherwise fine. Find out what unit the source author used, or compare the displayed dimensions with the object’s known real-world size.
The viewer also helps distinguish missing materials from missing geometry. A gray but correctly shaped preview points me back toward the MTL and images. A strange silhouette or unexpected loose pieces call for a source-model check before any format conversion.
Step 3: Choose the source units
The converter starts from the glTF convention that coordinates are in meters. That default is appropriate only when the OBJ’s coordinates were authored as meters. If the model came from a printing workflow and its coordinates represent millimeters, set File units to mm instead. Use the source unit, not the unit you hope to see in the destination.
Watch Output size change as you select a unit. Compare that readout with a real dimension you know: the height of a character, for example, or the width of an object you measured before export. The point is not to guess a plausible-looking number; it is to establish what the source coordinates mean.
This choice matters even when the shape looks perfect in the preview. Geometry can have the right proportions and still arrive at the wrong scale. GLB has a meter-based size convention, while OBJ supplies no unit declaration to resolve the ambiguity for you.
Step 4: Convert and keep the delivery file together
Once Also read shows the expected side files and Output size makes sense, press Convert to GLB. The converter downloads a single .glb and reports the size before and after conversion. It carries geometry, normals, UVs, and any vertex colors; quads and larger polygons are triangulated as the OBJ is read.
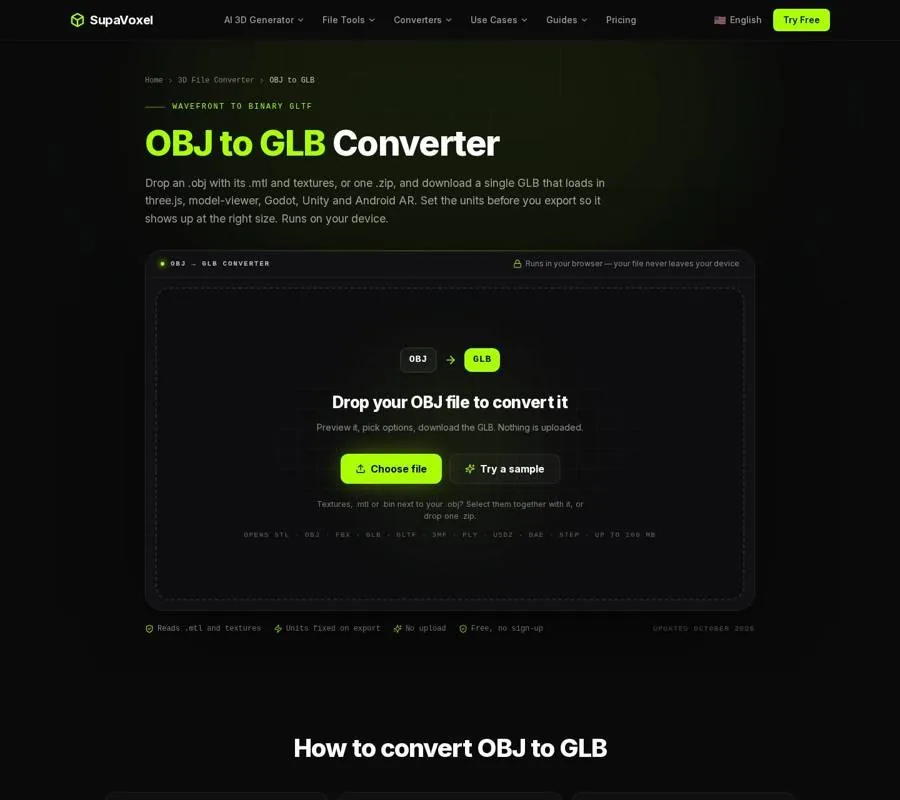
The OBJ to GLB page provides the file input, unit setting, and output-size check used before export.
A single file makes handoff simpler, but it does not mean every feature of the OBJ material system has an exact GLB equivalent. In particular, I would not approve a textured asset solely because the conversion completed. I would inspect the downloaded result in the environment where it will be used.
Keep the original OBJ, MTL, and images together in your working files. If a texture needs replacing or the unit choice turns out to be wrong, you can correct the inputs and make a fresh delivery copy without trying to reconstruct them from a GLB.
Check the GLB before you send it
Load the downloaded GLB in its intended viewer, scene, or engine. First check the overall dimensions against the Output size you saw during conversion. Then orbit around the model: inspect areas that rely on textures, look for unexpected gray surfaces, and confirm that separate parts are present where you expect them.
If the GLB is gray, return to the source-file list. Check whether the MTL was supplied and whether its referenced images appeared under Also read. If only a particular surface looks wrong, inspect that material and its image rather than assuming the entire conversion failed.
If the scale is wrong, revisit File units and compare the new Output size before exporting again. Renaming an .obj file with a .glb extension will not solve a format or scale problem; the files contain different data. For a web or mobile destination, also judge whether the source mesh is appropriately detailed for that use. Conversion changes the container, not the underlying complexity of a dense sculpt.
When the source or destination differs
Sometimes the asset is not an OBJ yet. For a scan supplied as PLY, the PLY to OBJ converter can make the OBJ needed for this workflow, provided the PLY contains faces rather than just points. Check its source units during that conversion too. Colored scans may store color per vertex; the resulting OBJ writes those colors using a commonly supported extension, which the OBJ to GLB converter can carry forward.
Sometimes GLB is not the requested delivery format. If the recipient needs COLLADA for a virtual-world upload or an older tool, the OBJ to DAE converter is the more direct route from the same OBJ source. Its output keeps UVs and declares the unit you select, but it does not embed texture images. Choose the destination format for the job rather than converting to GLB by habit.
FAQ
Can I convert the OBJ without its MTL?
Yes. The geometry still converts, but the GLB may be neutral gray without the material colors and texture images. Supply the MTL and images if appearance matters.
Why does the downloaded GLB have separate meshes?
The converter preserves OBJ o objects and g groups as separate meshes. That lets you work with parts individually in the destination. Check the source groups if you expected a single mesh.
Is the converter free to use?
Yes. The OBJ to GLB converter is free, requires no sign-up, and runs in your browser without uploading the model. It accepts files up to 200 MB.