If you came looking for a glb viewer, this guide shows where inspecting a GLB fits into preparing a model for AR. It also covers real-world scale, iPhone and Android file formats, and publishing.
An AR model needs more than a convincing shape: it needs a real-world size, a file each phone can open, and a web page that offers a useful fallback. Here’s the workflow I use to take a photo-based model through export, inspection, and publishing.
The short version
- Start with a sharp photo of a single object and make a textured model. Check the shape from every side; a photo cannot reveal surfaces it does not show.
- Set the model’s actual dimensions before export. GLB uses meters for AR scale, so an attractive preview alone cannot tell you whether it will fit the room.
- Keep a GLB for Android Scene Viewer and a USDZ for iPhone AR Quick Look. Inspect both files rather than assuming conversion preserved the appearance.
- Host the files over HTTPS, offer an AR button on the page, and show a still image to visitors whose devices cannot open AR.
Step 1: Make a model worth placing in a room
SupaVoxel’s AR 3D models workflow starts from one photo and produces a GLB for Android and the web, with a USDZ option for Apple devices. For an object people will examine on a table or floor, choose textured generation: surface color makes a substantial difference against a real camera view. Textured generation costs 3 credits and requires a paid plan; new accounts receive 3 free credits at sign-up.
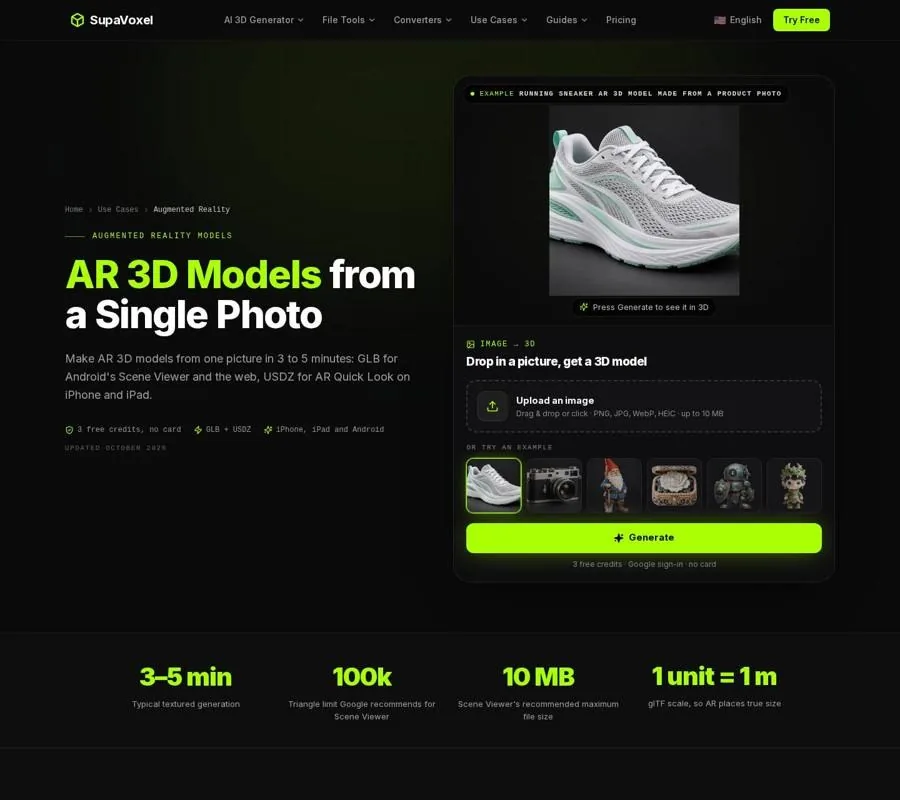
The Augmented Reality page introduces the photo-to-model workflow and its platform exports.
Use a clear picture of one object in soft, even light. Harsh shadows can be mistaken for marks on its surface, while a strong reflection tells the model little about the material underneath. Then orbit the result. Look especially at the back and underside, where a single front-facing photo leaves the most uncertainty. If a product label, joining edge, or other distinctive detail matters, inspect it closely rather than trusting the thumbnail.
Treat the output as a visual representation, not a measured scan. It suits a static product, decoration, or collectible that someone wants to judge in a room. It is a poor substitute for exact geometry when a part must fit another part. The generated models are static, so plan a still display rather than an animated demonstration.
Step 2: Give the model its real dimensions
A phone can place a model on a detected surface without knowing how large the photographed object really is. That size must be in the file. Open the GLB in Blender, set the object’s dimensions in meters in the N panel, apply scale, and re-export it. In glTF, 1 unit represents 1 meter; AR placement follows that convention.
I check the dimensions against a measurement of the real object before moving on. If I do not have a trustworthy measurement, I would rather state the object’s size beside the AR button than present its placement as proof of fit. A convincing texture does not make estimated proportions exact.
Also check where the geometry sits relative to its origin and bounds. A model with a large backdrop or ground plane may appear to hover or sit awkwardly when placed. Remove scenery that is not part of the object before preparing the phone files. Aim for an object that can be placed on a surface and examined without dragging an unwanted stage into the room.
Step 3: Prepare GLB and USDZ
Keep the GLB as your Android and web asset. Android Scene Viewer loads GLB, while Apple’s AR Quick Look opens USDZ on iPhone and iPad. You can export USDZ from the paid studio workflow or take your finished GLB through the free GLB to USDZ converter, which runs in the browser without uploading the file.
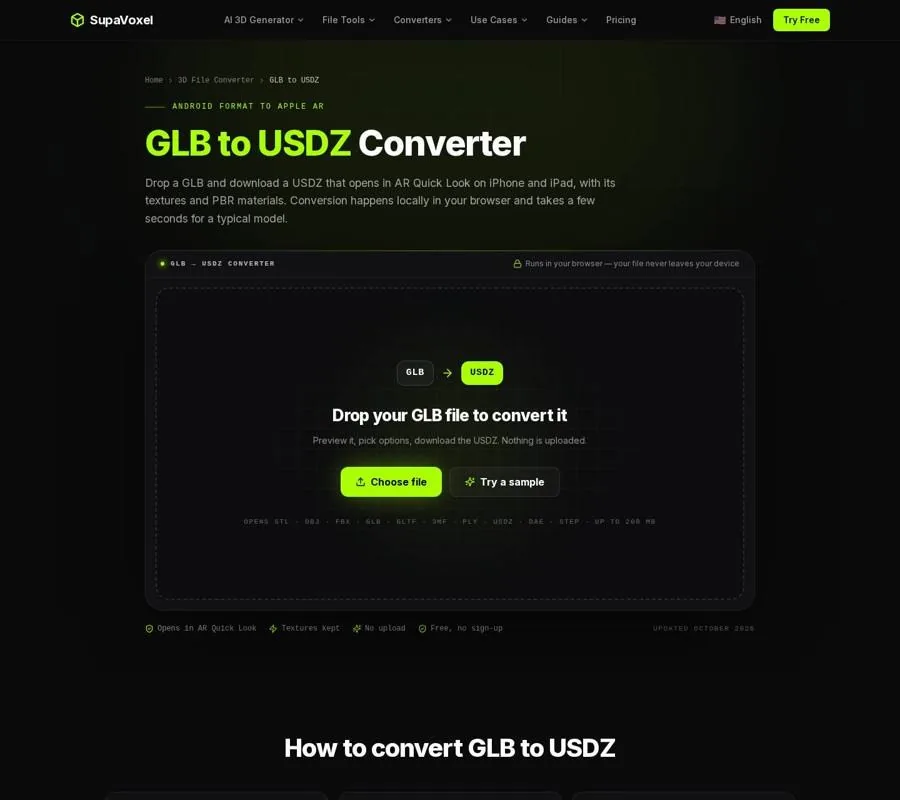
The converter shows the source model and its output size before you make the Apple file.
Do not treat conversion as a rename. The converter carries over separate meshes and supported PBR texture maps, but exports a resting pose rather than animation. It also downsizes textures larger than 1024 px. That is useful to know if a close-up product detail looks softer on the iPhone version than it did in the GLB.
Before converting, read the converter’s Output size, which is expressed in meters. Its File units control can correct a GLB authored in centimeters. Keep Keep textures enabled for a textured product model. After conversion, retain both original files: replacing the GLB with a USDZ would leave Android visitors without the file its native AR viewer expects.
Step 4: Inspect the files before publishing
Open the GLB in a viewer and rotate it through the angles a visitor is likely to try. Check for missing surfaces, misplaced textures, and a sensible amount of geometry. Google recommends no more than 100k triangles and a file under 10 MB for Scene Viewer; 30–50k triangles is a useful target, with textures no larger than 2048 × 2048. Those are budgets to check against, not a reason to remove the details that make the object recognizable.
For the Apple file, SupaVoxel’s free USDZ viewer lets you inspect a USDZ in a browser, including on Windows or Android. It displays packaged textures, dimensions, and triangle count. Use wireframe to spot unexpectedly dense areas, then switch back to the textured view to check whether materials survived conversion. The viewer shows a static pose; it is not a test of animation or interactive behavior.
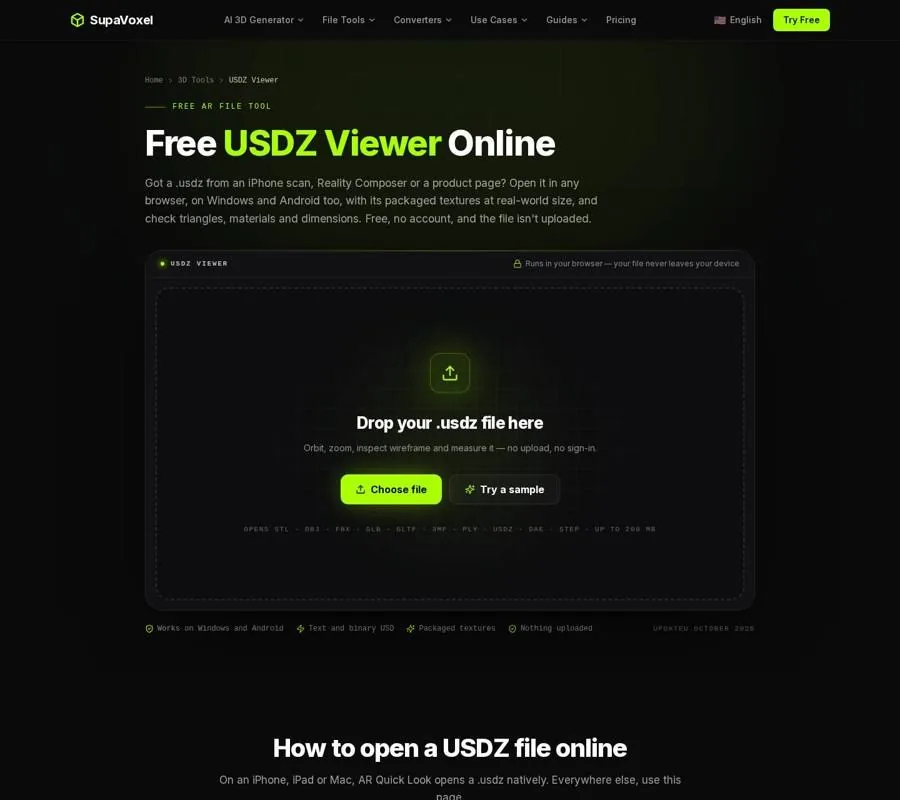
The USDZ viewer provides a closer look at the Apple file’s appearance and geometry.
A desktop inspection is not the final test. Open the USDZ on an iPhone and try the GLB on an Android phone. Look at the object against a real floor or tabletop, walk around it, and check its apparent size. A file can pass a browser preview yet feel wrong once a person tries to place it.
Step 5: Put both files on the page
Host the finished GLB and USDZ over HTTPS, alongside a preview image. A page using the <model-viewer> web component can point src at the GLB and ios-src at the USDZ. Give the component its ar attribute so supported phones offer placement in AR. This approach keeps a rotatable model on the page while directing each platform to the appropriate file.
There is another valid approach if you have only a GLB: without ios-src, <model-viewer> can generate a USDZ for iPhone. I prefer to supply and test the USDZ myself when the Apple presentation matters, because it gives me a specific file to inspect before publication.
For a simpler iPhone-only button, Safari supports a USDZ link with rel="ar" wrapped around a single preview <img> or <picture>. The server must send the USDZ with the model/vnd.usdz+zip MIME type. An Android-only link can open Scene Viewer with the GLB’s HTTPS location. For a page intended for both platforms, the shared <model-viewer> presentation is usually easier for a visitor to understand than separate platform instructions.
Finally, keep the preview image visible as a fallback. Some visitors will browse on a device without AR support; others will not want to grant camera access. They should still see what the object looks like and read its stated dimensions. Test the published page, not just files opened from your own device: hosting, file delivery, and the AR button are part of the experience.
FAQ
Can I use the same file on iPhone and Android?
Android Scene Viewer uses GLB, while iPhone AR Quick Look opens USDZ. On a website, <model-viewer> can take a GLB and generate the iPhone file when needed; supplying both files lets you inspect each version before publishing.
Why does the USDZ look softer than the GLB?
The browser converter downsizes source textures larger than 1024 px. Inspect small labels and other fine details in the resulting USDZ, then test how they appear on an iPhone at the intended viewing distance.
Is a browser preview enough to approve an AR model?
No. Use previews to catch geometry, texture, and triangle-count problems, then place the files on an iPhone and an Android phone. Real-device placement reveals scale and presentation issues that a rotatable desktop view cannot.